
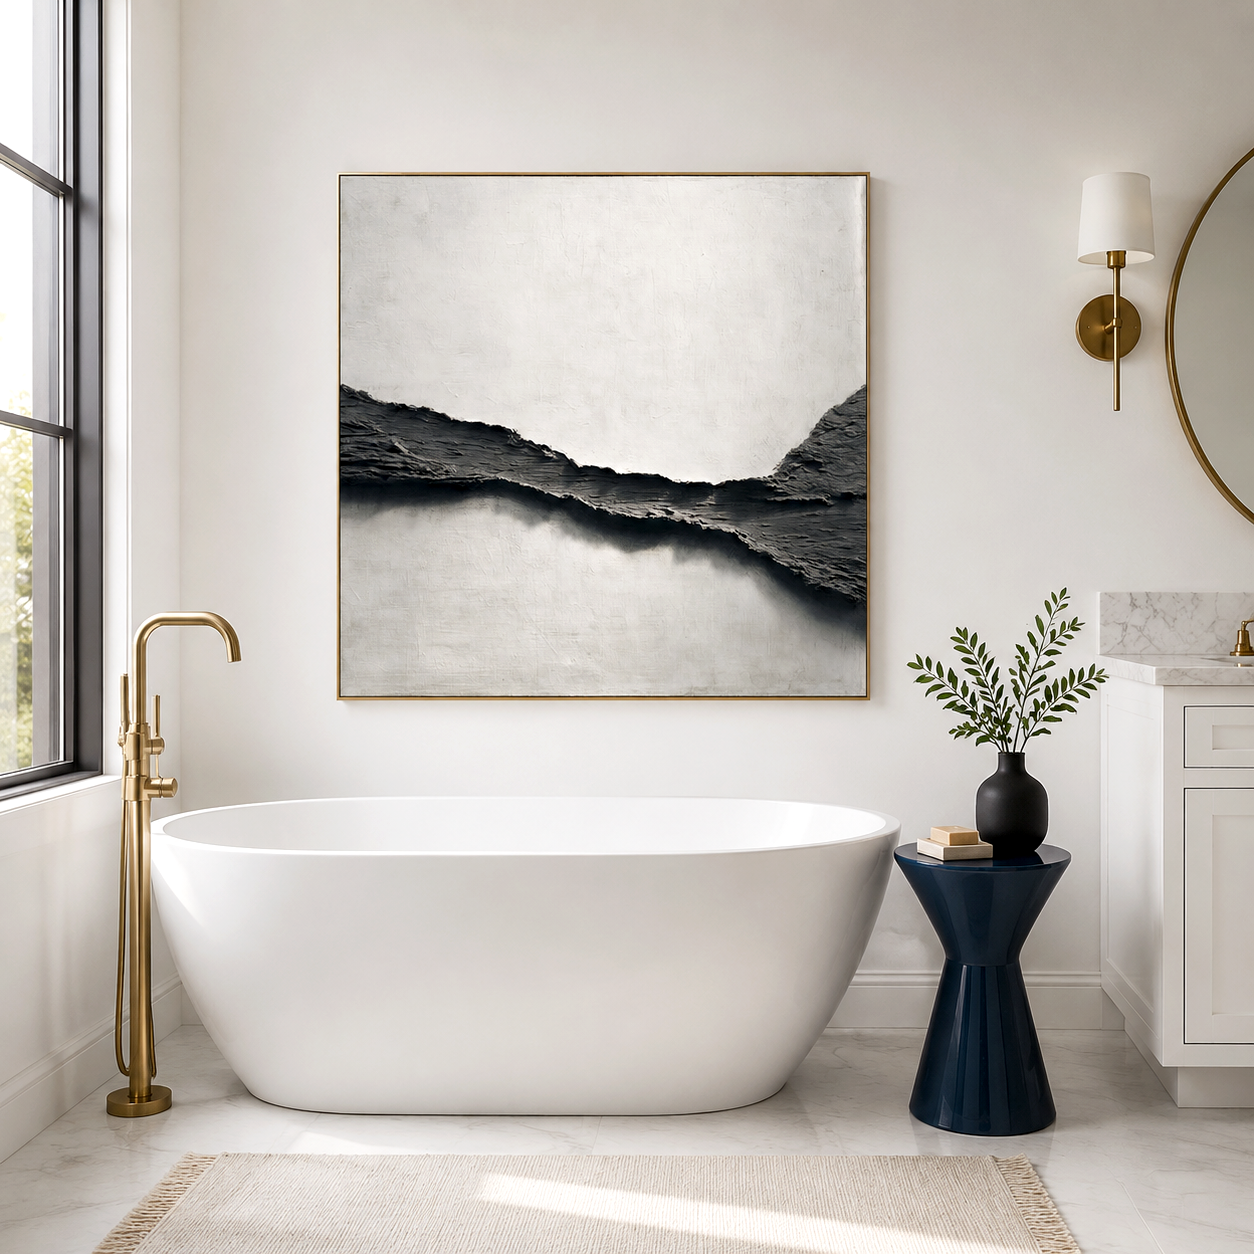
White canvas DIY projects work best when “white” is treated as a material with shadow, relief, and movement rather than as an empty background. A raised sweep of paste can catch morning light; a barely-there line can give a quiet wall a focal point; layered warm whites can make a minimal room feel composed instead of unfinished. The challenge is structural as much as aesthetic: heavy texture needs the right support, restrained marks need enough contrast to remain visible, and a large blank canvas needs a clear relationship to the furniture and wall around it.
This guide focuses on textured and minimalist approaches that let a white canvas hold its own in a modern interior, without relying on complicated drawing skills or bright color.
Start with the surface you actually want to make
A white canvas can become many different kinds of artwork, but it helps to decide on the finish before buying materials. Do you want pronounced ridges that create changing shadows, a chalky plaster-like field, a smooth monochrome composition, or a graphic line painting with plenty of negative space? Those outcomes require different amounts of material and different tolerance for imperfection.
A stretched canvas is convenient for light-to-medium texture and painted linework. For very deep relief, a rigid panel is usually the safer choice because it moves less while the paste dries. If you prefer the familiar look of stretched canvas, select one with a firm frame and taut surface, then keep the most substantial texture away from unsupported areas in the middle.
For visual direction, study how professionally made 3D wall art uses relief, scale, and shadow. The goal is not to copy a finished piece, but to notice how a limited palette and controlled surface movement can make neutral art feel substantial.
The practical material kit
The strongest blank canvas craft ideas often use a short, intentional supply list. Buying every texture product at once tends to create muddled surfaces; one paste, one application tool, and a limited paint palette are enough for a first piece.
-
A pre-stretched canvas or primed wood panel, acrylic gesso if the surface needs an extra even ground, artist acrylic paint in titanium white plus one or two undertones, acrylic modeling or texture paste, palette knives, a wide brush, fine sandpaper, a pencil, and painter’s tape for layout.
Modeling paste and acrylic texture mediums are made to build physical texture, but products vary in weight, flexibility, drying time, and recommended support. Read the label before combining products or committing to a thick application. Some pastes work better on flexible or semi-flexible surfaces, while others are better suited to rigid boards.
If you use joint compound or plaster-style paste for a decorative experiment, make a small test board first. It can create an appealing mineral finish, but it is not automatically interchangeable with an artist’s acrylic medium. Canvas moves when handled, and a brittle, heavily loaded surface is more likely to crack.
Three directions for textured white canvas art DIY
Sculpted arcs and soft ridges
This is an approachable textured white canvas art DIY technique: sketch two or three broad arcs, then spread paste across and beyond the lines with a palette knife. Pull the knife in one direction for calm, continuous ridges, or change pressure midway for a more geological surface.
Avoid making every mark equally deep. A composition becomes more convincing when one area holds the visual weight and the remaining space stays comparatively quiet. On a horizontal canvas above a sofa, for example, a low sweeping ridge can echo the length of the furniture without turning the wall into a striped pattern.
Minimalist plaster canvas ideas
For a plaster-like piece, apply a thin, irregular skim of white or lightly tinted paste, leaving a few calmer areas visible beneath. Once it is dry, sand only the highest rough points. The aim is not a perfectly flat wall finish; it is a surface that looks hand-worked when light falls across it.
Try mixing white with a trace of raw umber, beige, grey, or muted clay rather than using bright white alone. The shift should be subtle enough that the canvas reads as white from across the room, but gains warmth at close range. This direction works particularly well beside oak, stone, linen, and matte black accents.
Minimal brushwork with negative space
Not every DIY abstract wall art white project needs raised material. Use a flat brush, a wide scraper, or a narrow liner brush to create one off-center gesture on a white ground: a broken grid, a quiet contour, or overlapping vertical strokes. Then stop.
The restraint is the technique. If the mark feels too faint from viewing distance, add another layer in a related off-white rather than reaching immediately for high-contrast color. Monochrome art gets its depth from changes in sheen, edge quality, layering, and shadow.
Build texture in stages rather than one dramatic coat
The most common mistake in homemade textured painting techniques is treating texture paste like wall plaster and applying it as thickly as possible. A thicker layer can shrink as it dries, and a flexible canvas can shift beneath it. The result may be cracking, curling at the edges, or a surface that looks solid until the canvas is moved.
Build volume in controlled passes. Lay down a thin base layer, allow it to dry according to the product instructions, then add raised forms. Reserve the sharpest peaks for the final layer, when you can see what the composition actually needs. This also makes it easier to correct a shape before it becomes a heavy, permanent mass.
A tactile finish should look intentional from every angle. If it only looks dramatic when photographed straight on, flatten a few ridges and create more variation in height.
Keep the work flat while it cures, away from direct heat and strong airflow. A canvas that dries unevenly can warp, especially when one side receives much more moisture than the other. Letting each layer cure before adding the next is slower, but it usually produces cleaner edges and a more stable finish.
A styling process for monochromatic white art
A white canvas needs contrast, but that contrast does not have to come from color. Begin by choosing the wall and viewing distance. A small canvas with delicate relief can disappear above a long sofa or dining table, while an oversized heavily textured piece can dominate a compact entry. Before starting, tape the intended dimensions onto the wall and look at them from the doorway.
Next, decide what the artwork will echo. In a warm modern room, repeat the softness of linen upholstery or pale wood grain with rounded, low-relief shapes. In a more architectural room with concrete, glass, and black metal, use straighter marks, visible knife edges, and a cooler white. You are not matching every finish; you are giving the artwork a reason to belong.
Finally, test it under the room’s real lighting. Textured white art changes substantially between window light, warm table lamps, and directional ceiling fixtures. Place the canvas temporarily where it will hang. If the relief disappears in low light, increase shadow with slightly deeper grooves or a warmer underlayer rather than making the whole piece busier.
Fix cracking, warping, and uneven drying
Small cracks are not always a disaster. In a deliberately weathered or Wabi Sabi-inspired piece, they may become part of the character. But when the crack interrupts a clean minimal design, let the entire piece dry first. Do not press wet paste back into place; that often weakens the surrounding surface.
For a hairline crack, fill it with a thin amount of compatible paste, feather the edges, and let it dry fully before light sanding. If wide cracking appears throughout, the better solution may be to simplify the finish rather than repeatedly filling it. A second very thick coat can recreate the same problem.
Warping usually points to moisture imbalance or inadequate support. Work with the canvas lying flat, distribute wet material more evenly across the surface, and avoid saturating one corner while leaving the rest dry. For a project that calls for bold, heavy relief, switch to a rigid primed panel rather than forcing a stretched canvas to carry a finish it was not selected for.
Uneven color is often easier to solve than uneven structure. After the texture has cured, use a thin acrylic wash in a warm or cool off-white, wipe it back from the highest points, and reassess after drying. This can bring separate areas into the same visual family without hiding the texture you made.
When DIY is not the right route
DIY white art is satisfying when the making process matters as much as the finished wall. It is less appealing when you need a precisely scaled focal point, a coordinated group of panels, or a finish that must arrive ready to hang for a larger interior project. In those cases, choosing handcrafted art may be the more practical decision.
Textured and Wabi Sabi-style work can bring the appeal of uneven relief, softened white tones, and material presence without requiring a spare room for drying experiments. Acousart’s collections offer a starting point for readers who prefer to explore finished textured or neutral wall art rather than make it themselves.
A final distinction matters: ordinary DIY canvas art is decorative art. Raised surface texture may change the visual atmosphere of a room, but it should not be presented as sound-absorbing treatment or as a way to soundproof a space.
Frequently Asked Questions
What materials do I need to make a textured white canvas painting at home?
Start with a sturdy primed canvas or panel, acrylic modeling or texture paste, palette knives, acrylic paint, gesso if needed, sandpaper, and a clean brush. A limited palette of white and one or two undertones creates more coherent results than numerous similar whites.
How do I prevent acrylic paste from cracking on a stretched canvas?
Use a paste suitable for the support, build up texture in thinner layers, let each layer dry gradually, and avoid rapid heat or airflow. For especially substantial sculptural work, use a rigid panel instead of a flexible canvas.
Should I paint the canvas before applying texture paste?
Usually, create the texture first and paint afterward so the color settles naturally into the highs and lows. A pre-painted ground can be useful when you intentionally want undercolor to show through small gaps or sanded edges.